I decided to make my own business cards. I have a typewriter and a box of paper craft supplies so no one can stop me.
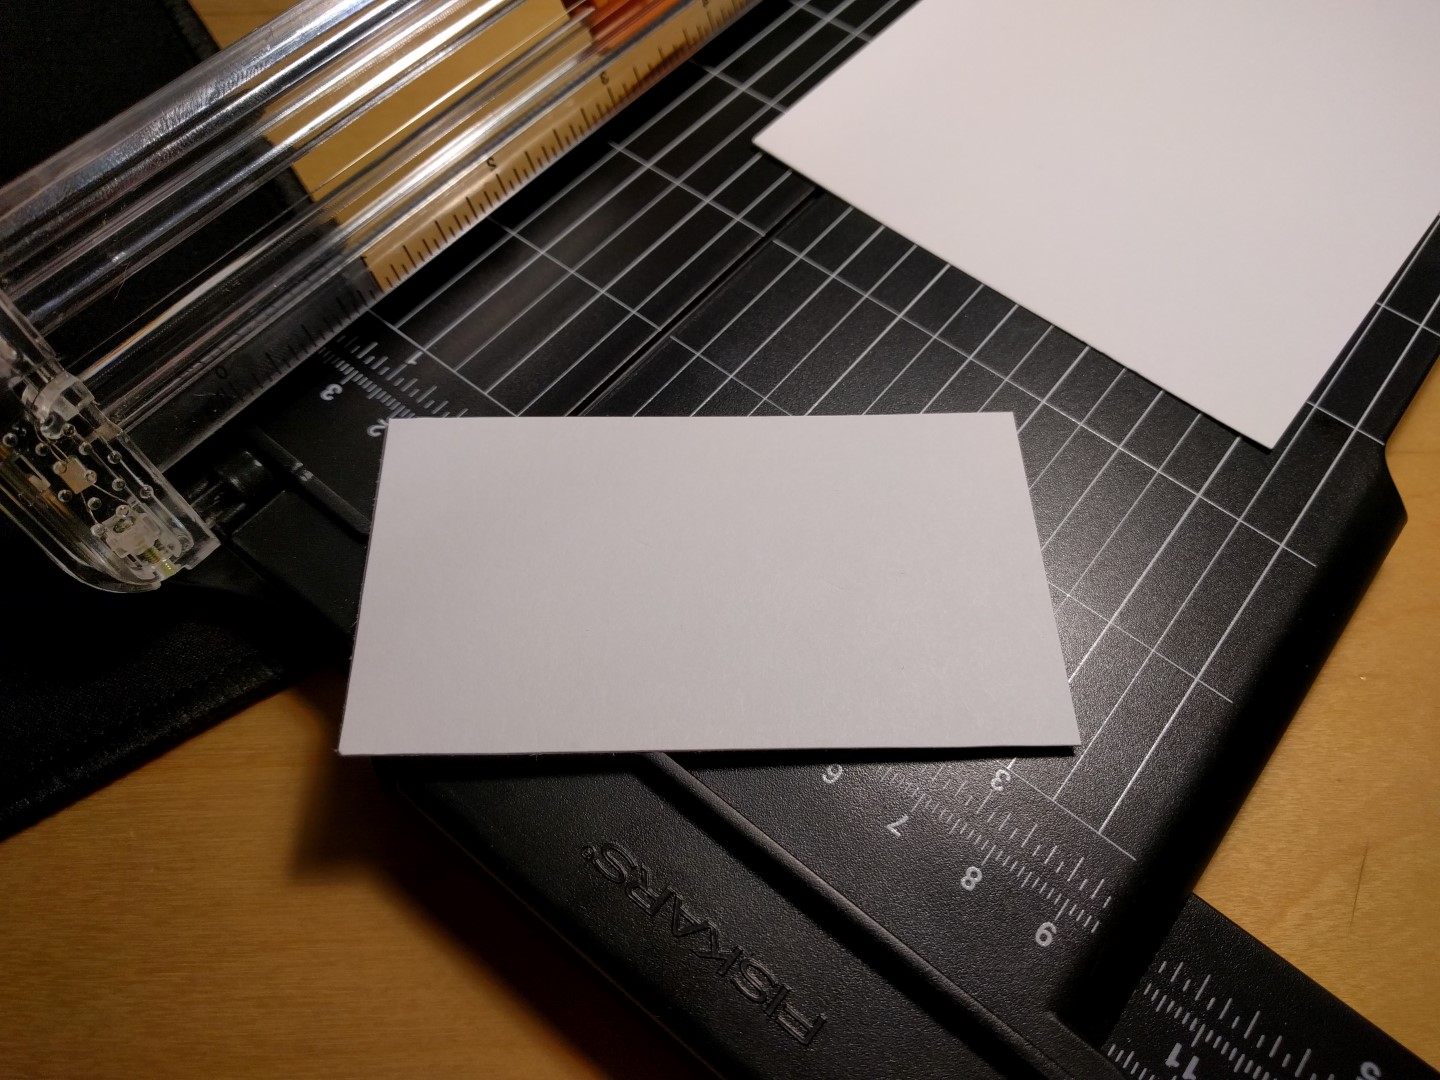
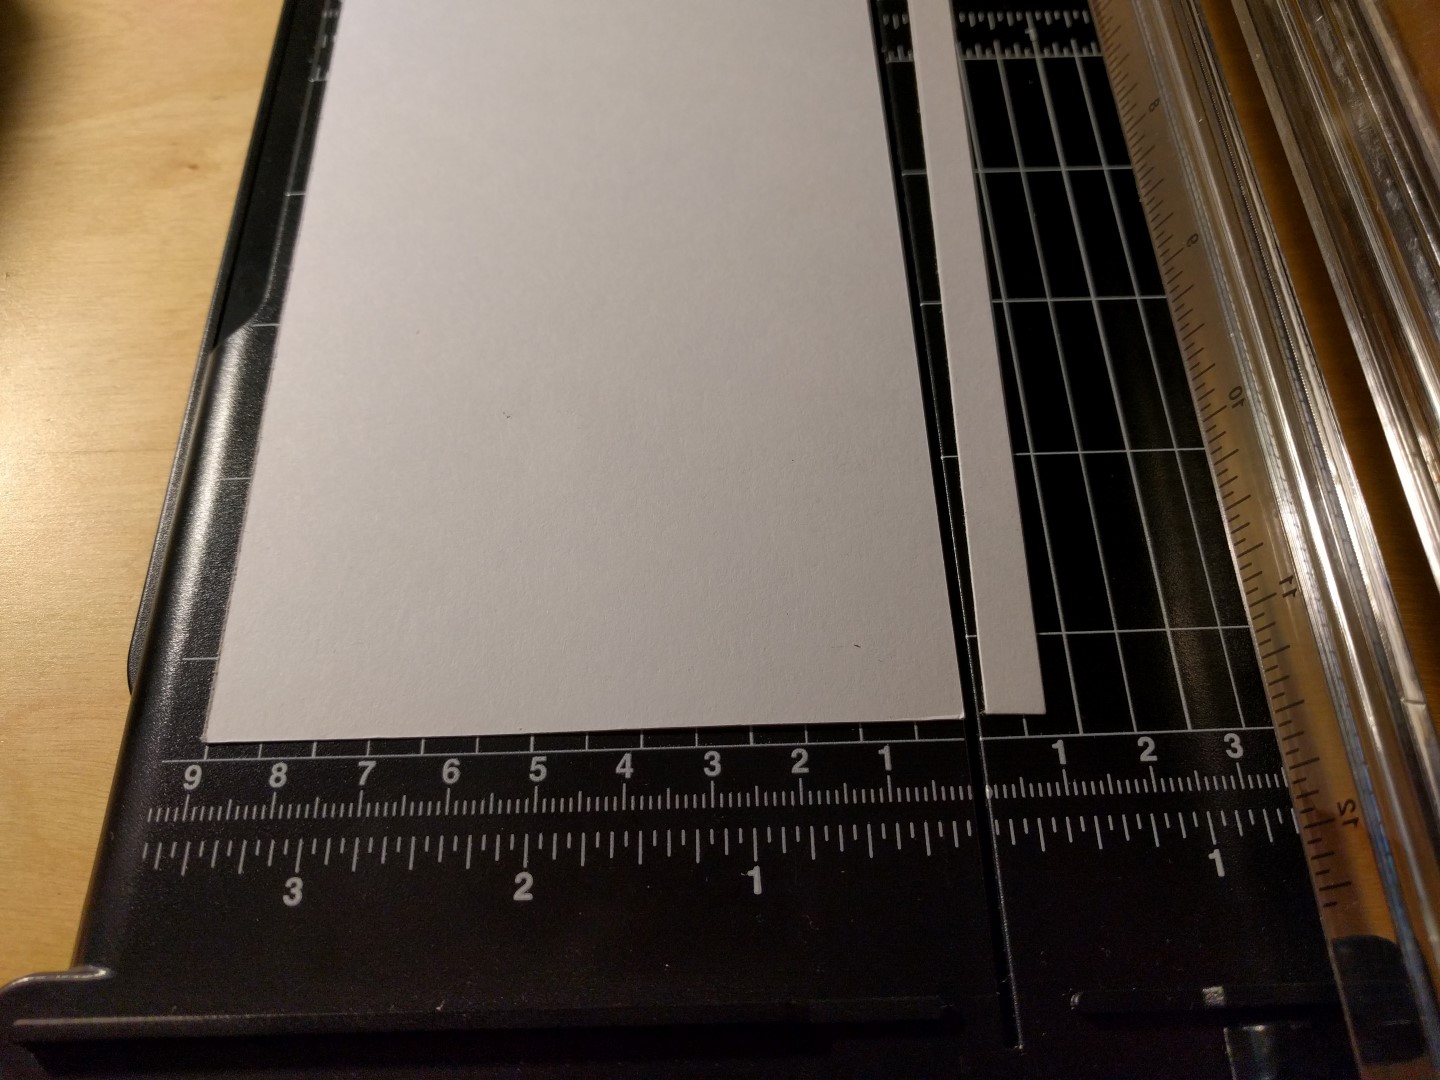
The first task is to create a prototype. A standard card cut is 2x3.5”.
Cut out a standard size card with a paper cutter.
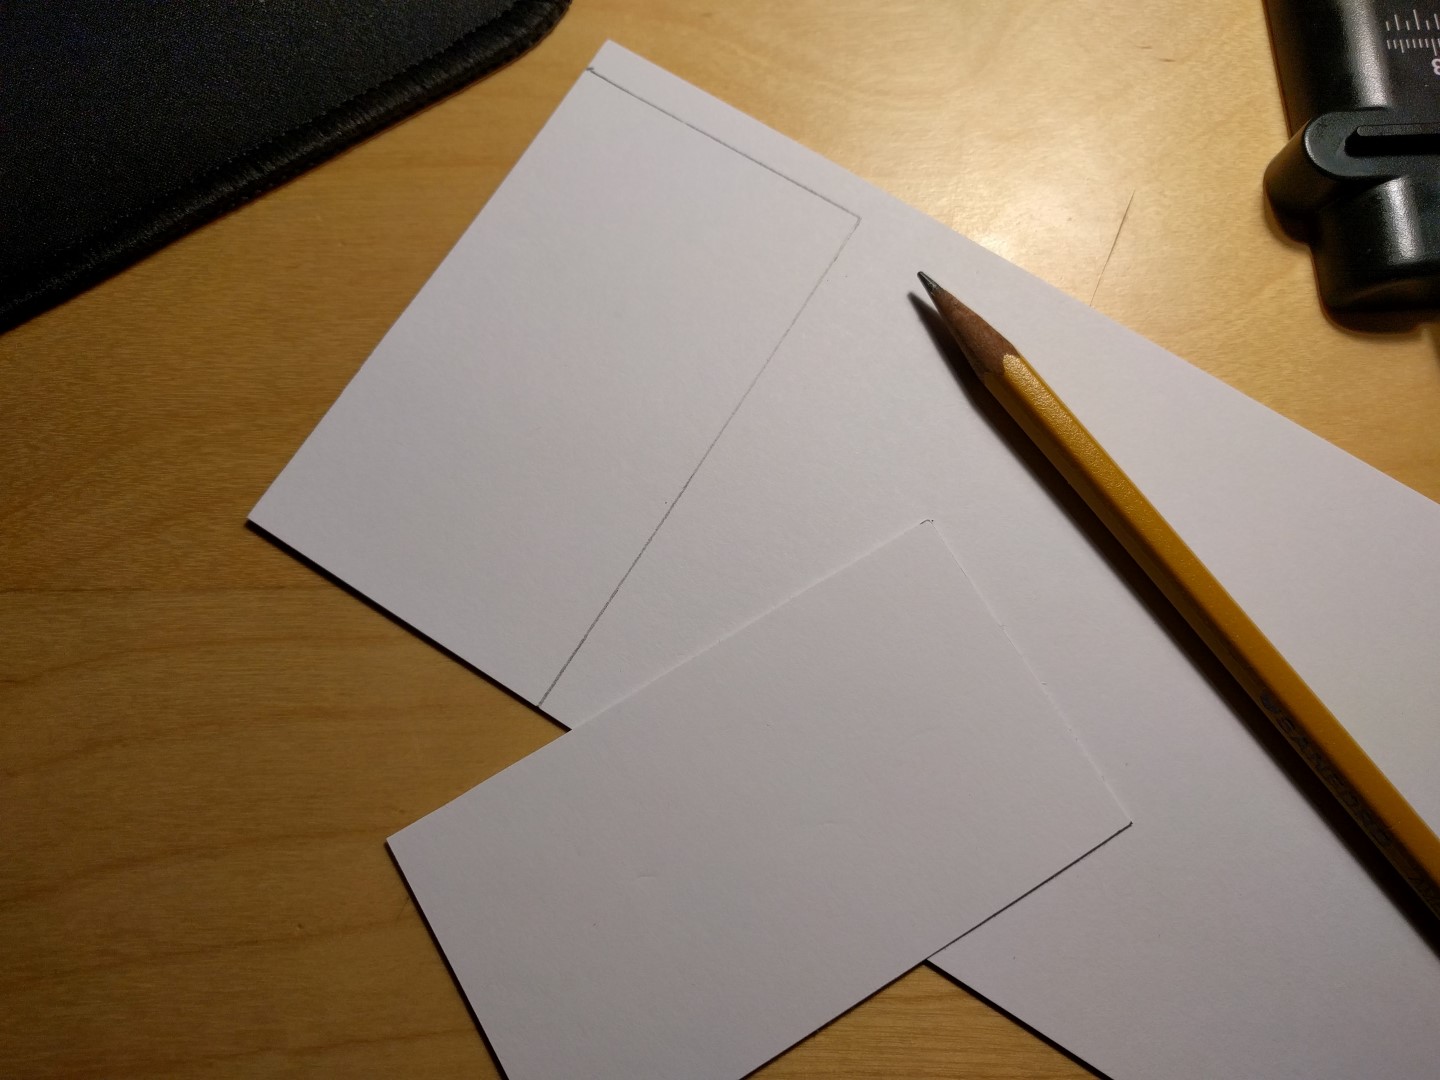
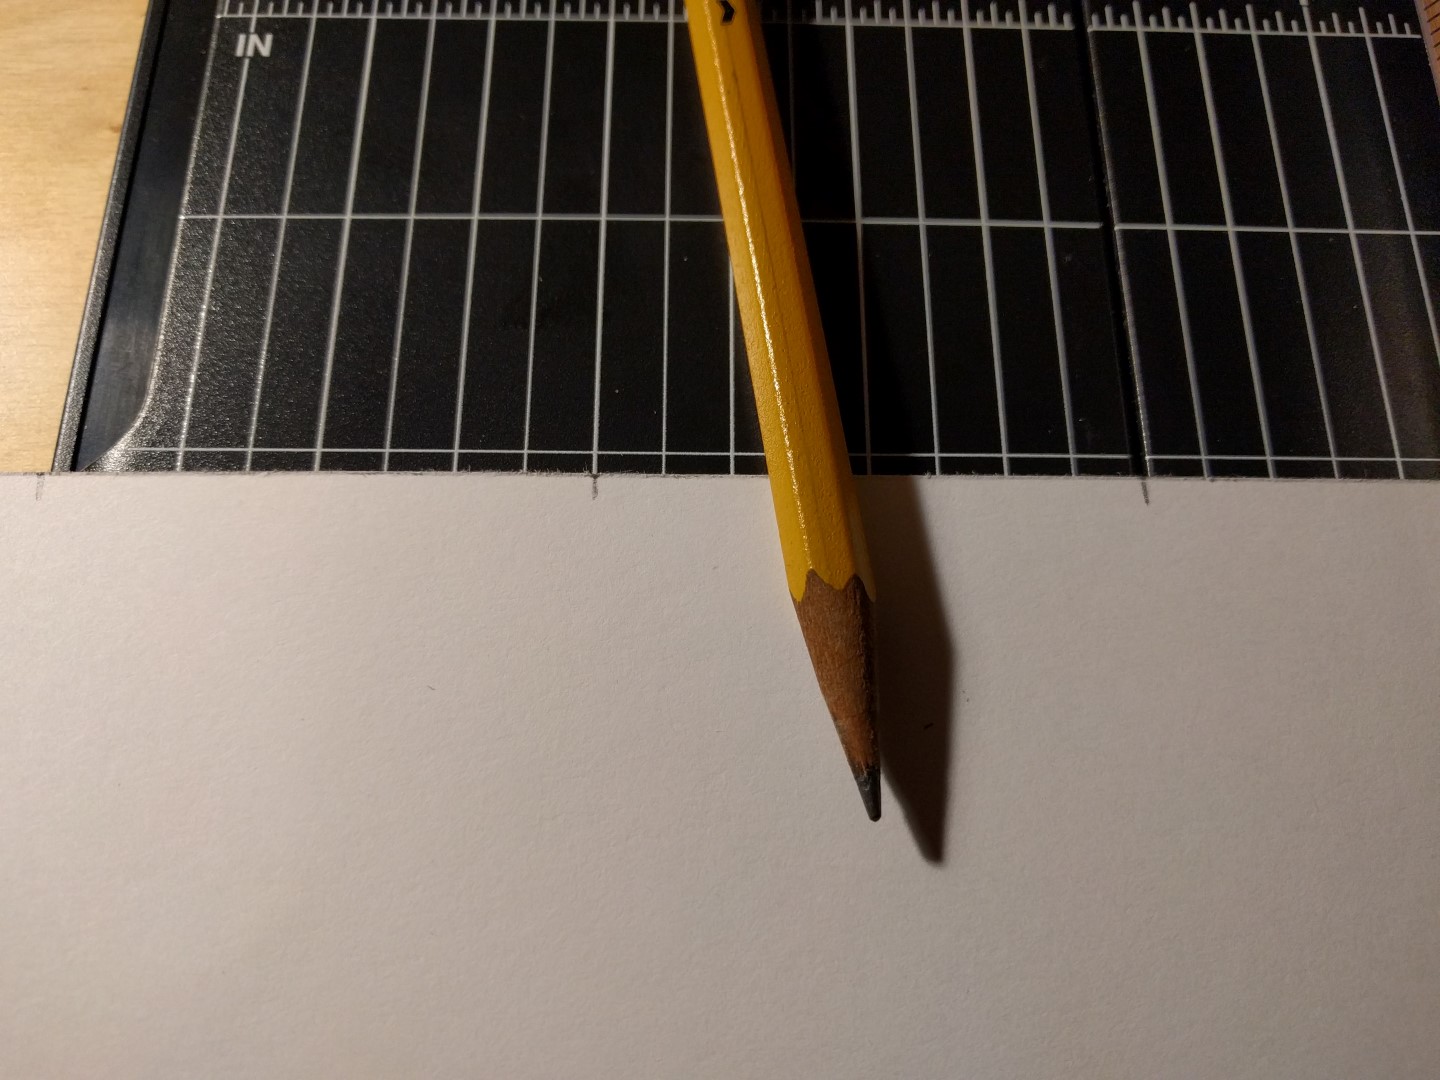
Trace the prototype onto a strip of cardstock. Any paper will do here, but it needs to be thin enough to feel through the typewriter.
Line up the card and set the margins on the typewriter.
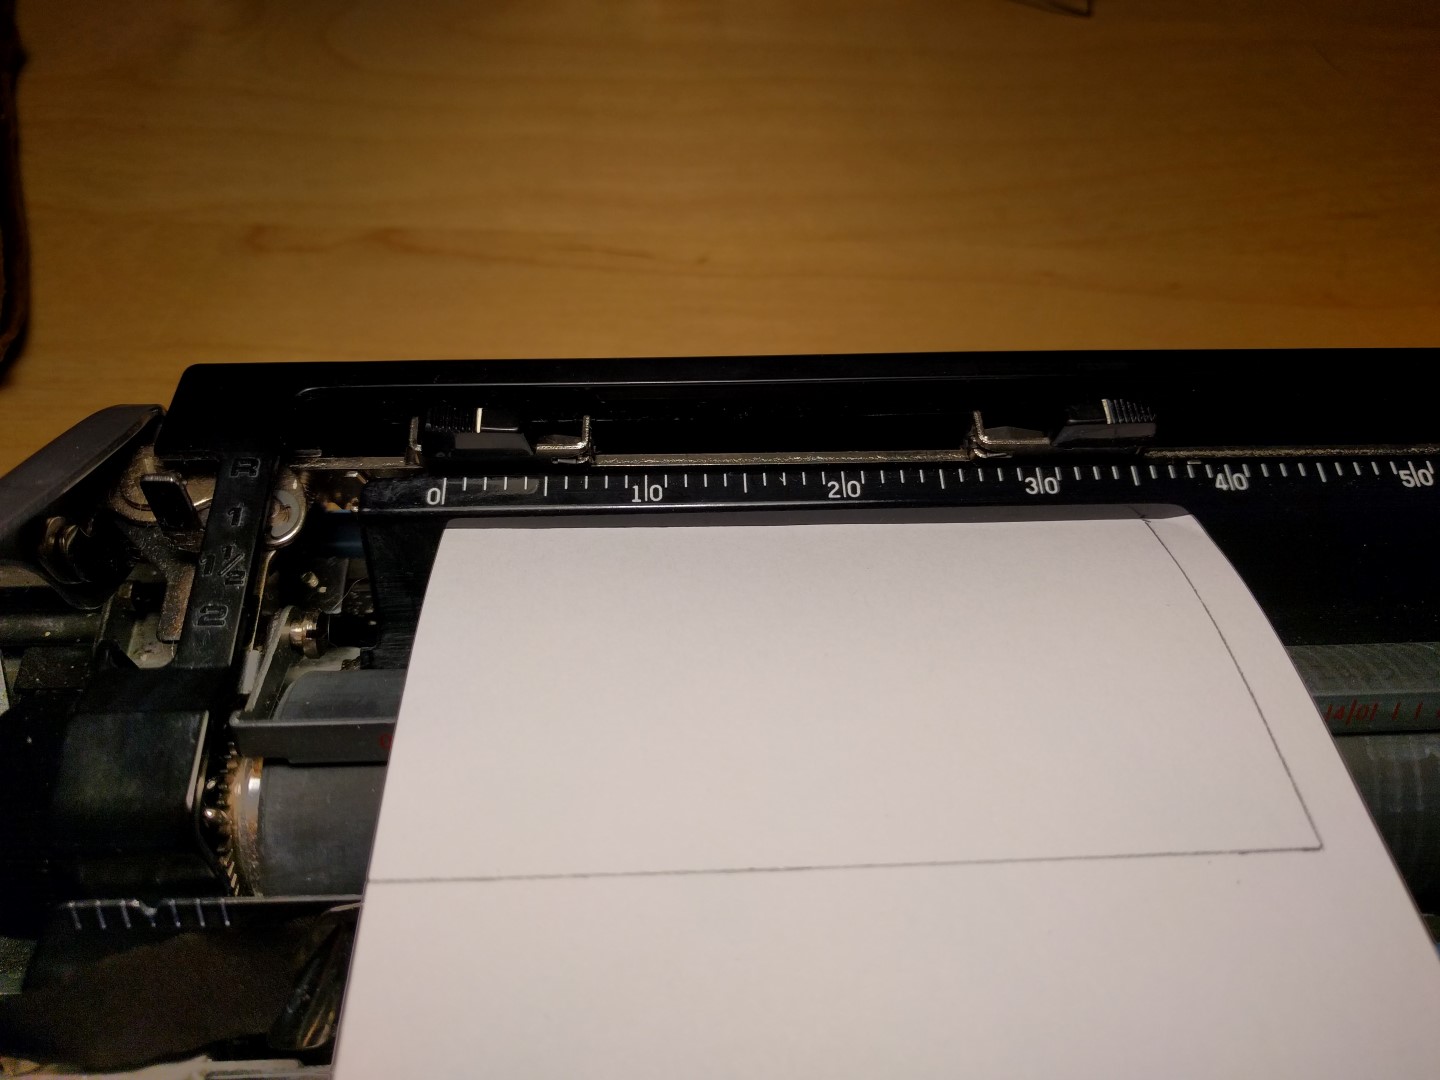
Aligning the paper just right is the key to getting consistent results. Feed the paper through and align the top egde with the guide before starting.
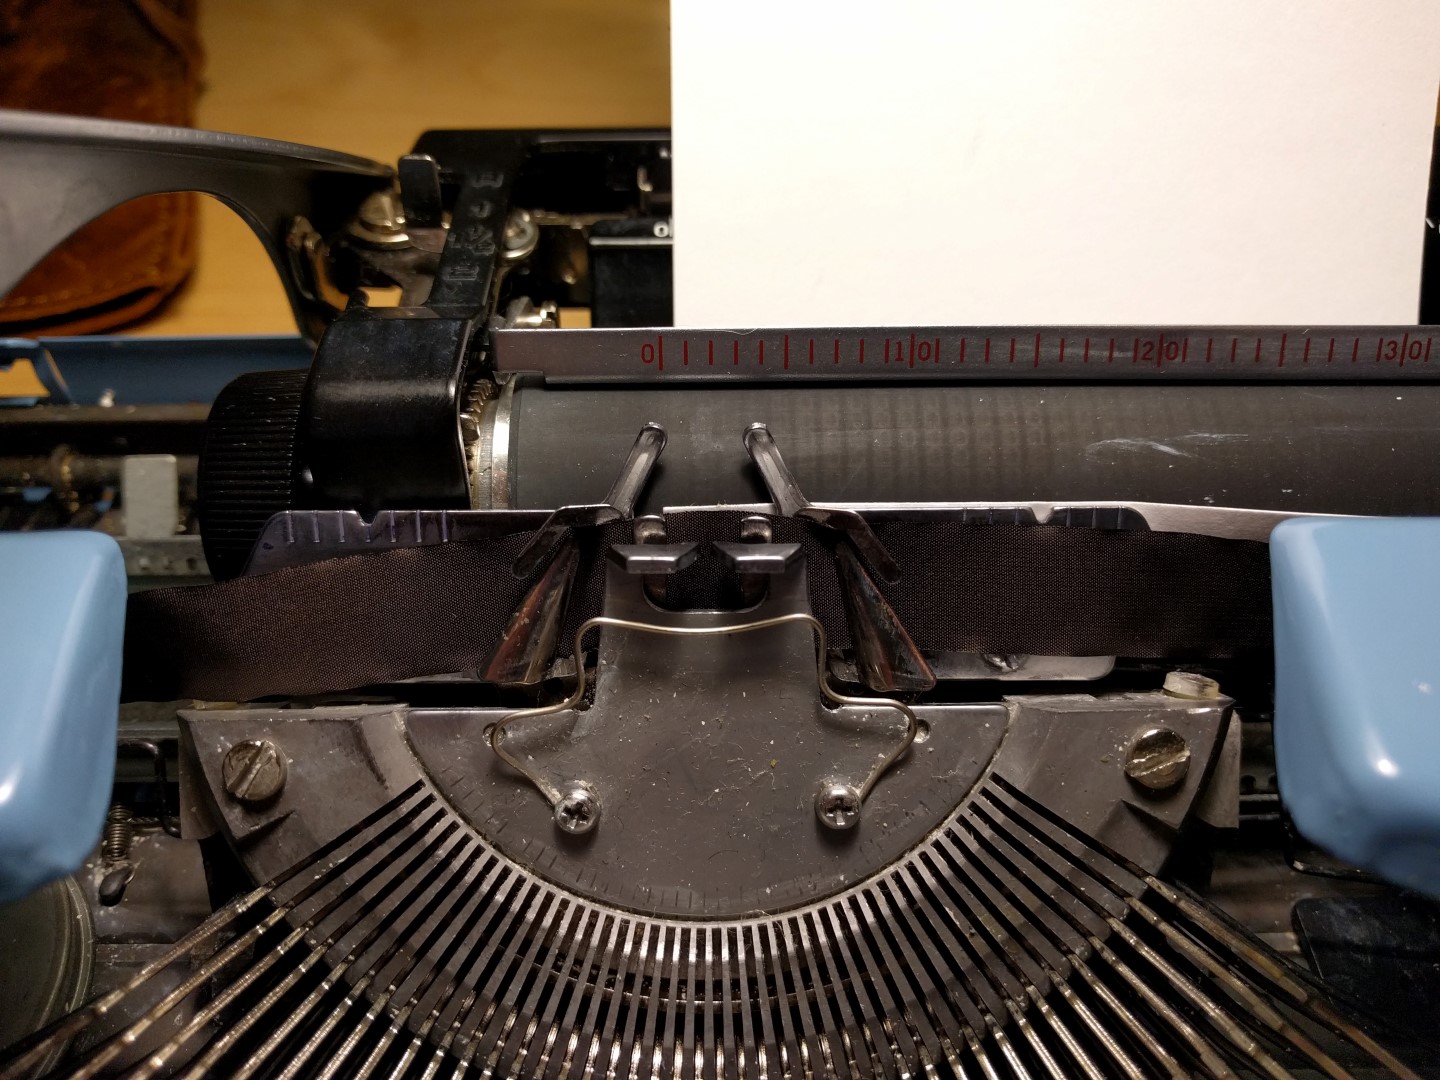
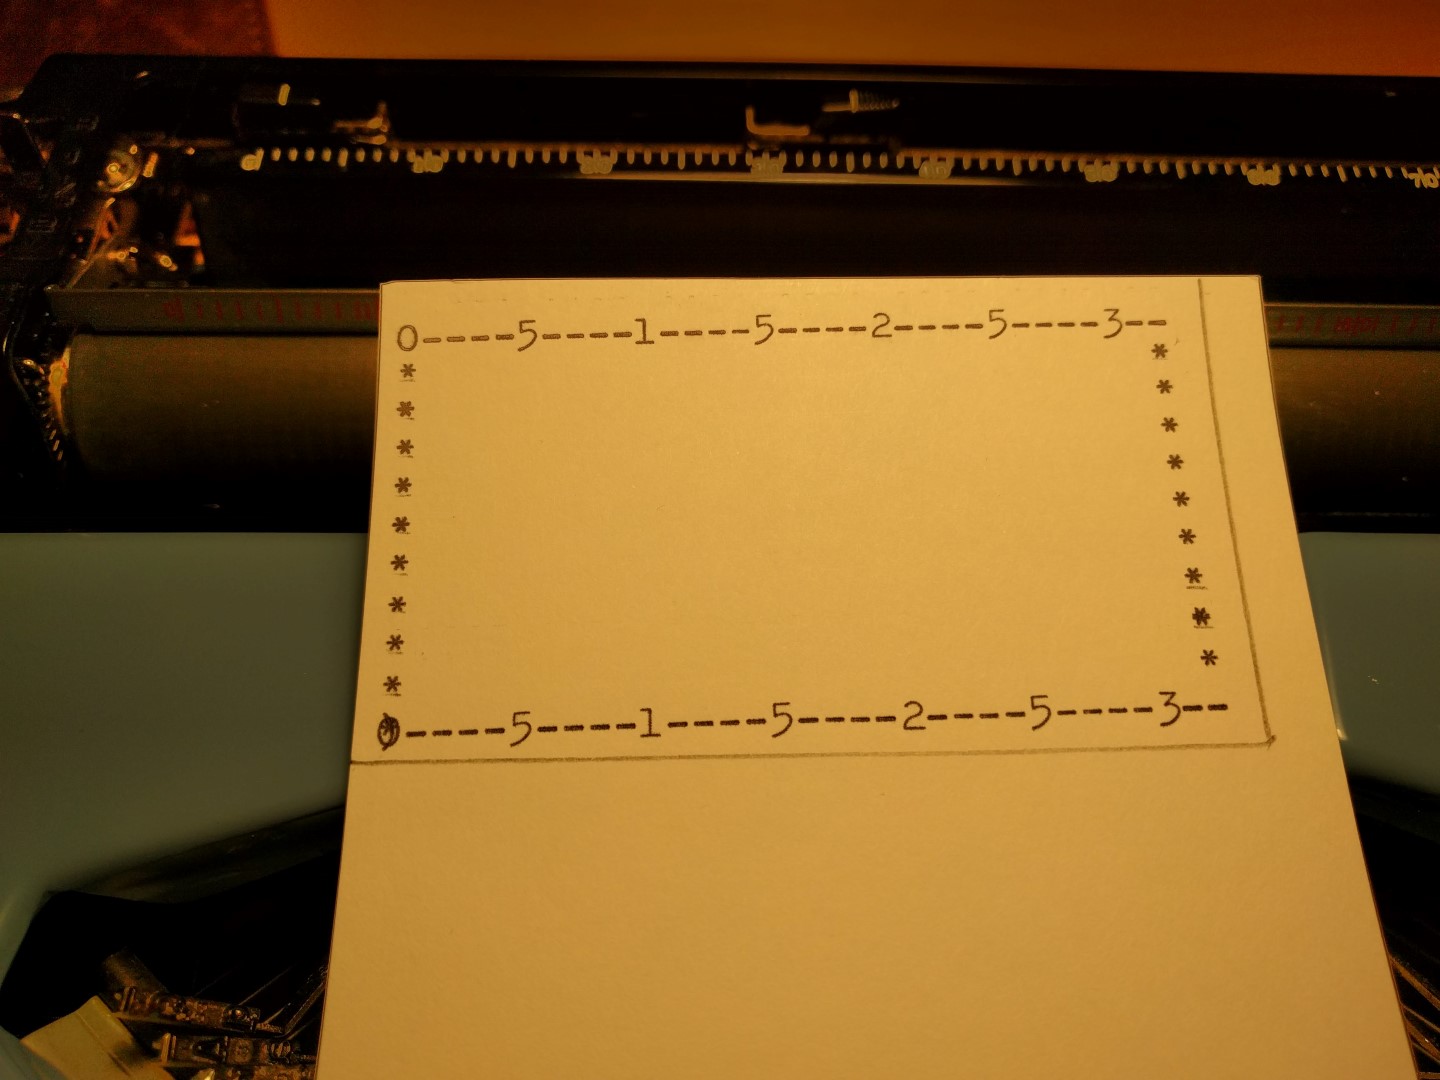
Type out some kind of pattern like this. This shows how many characters are possible on each line. With my typewriter and standard card dimensions I was able to fit 32 characters on 11 lines.
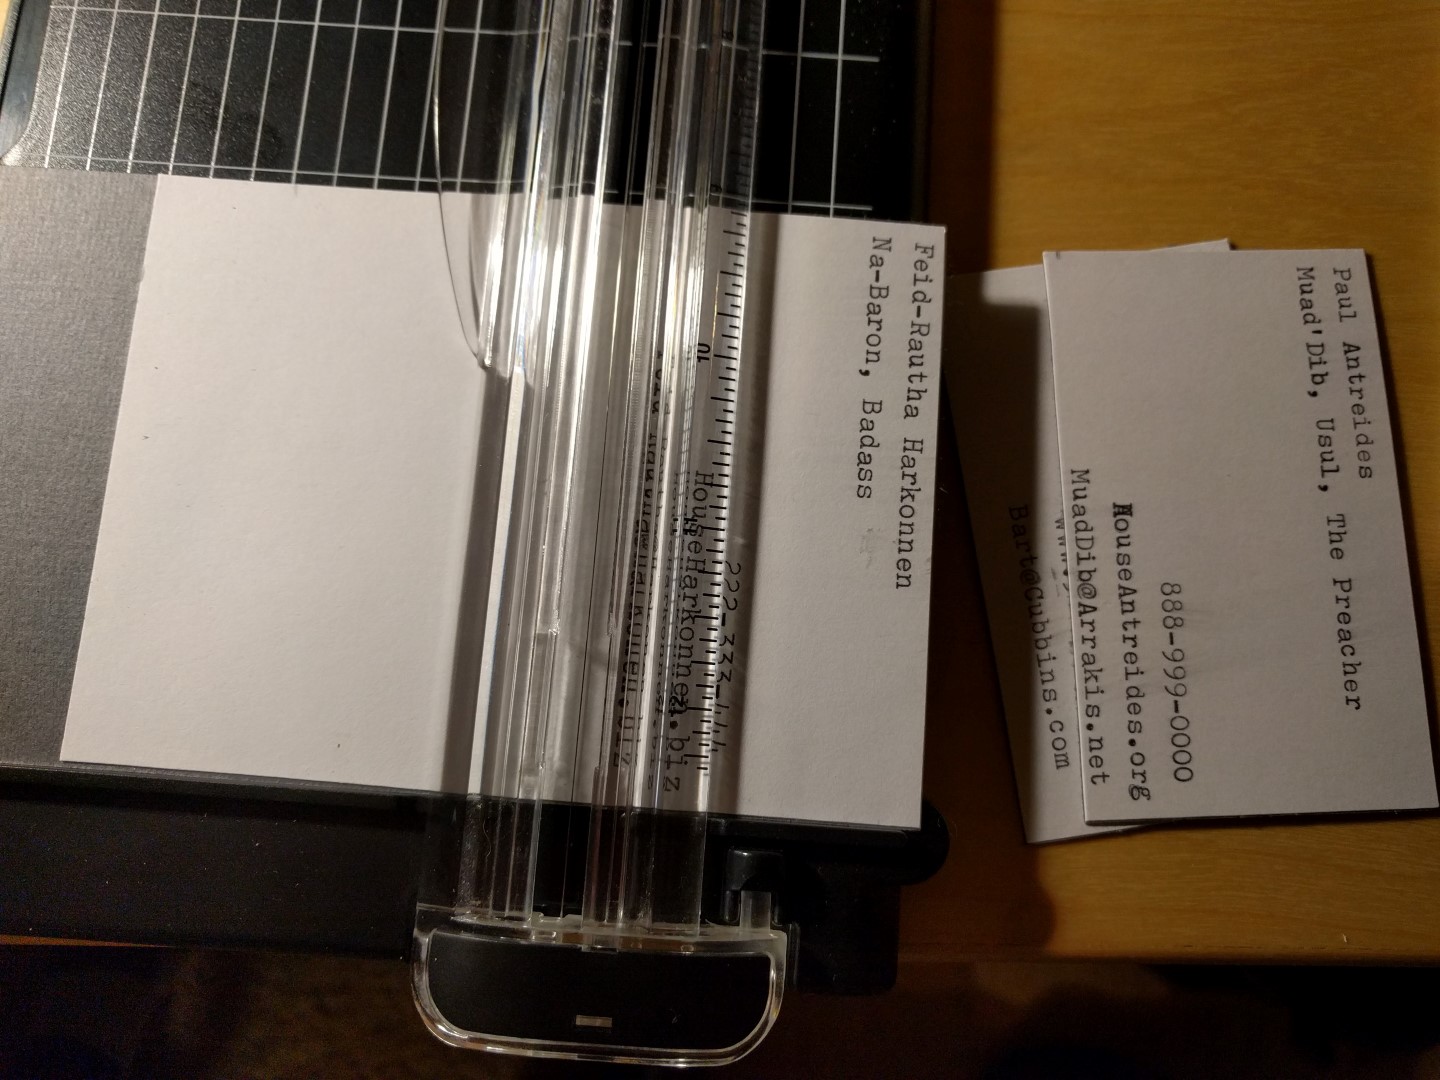
Now to create a full strip of cards. Cut a strip of cardstock 3.5” wide.
Mark the paper every 2” to help align the paper as each card is typed out.
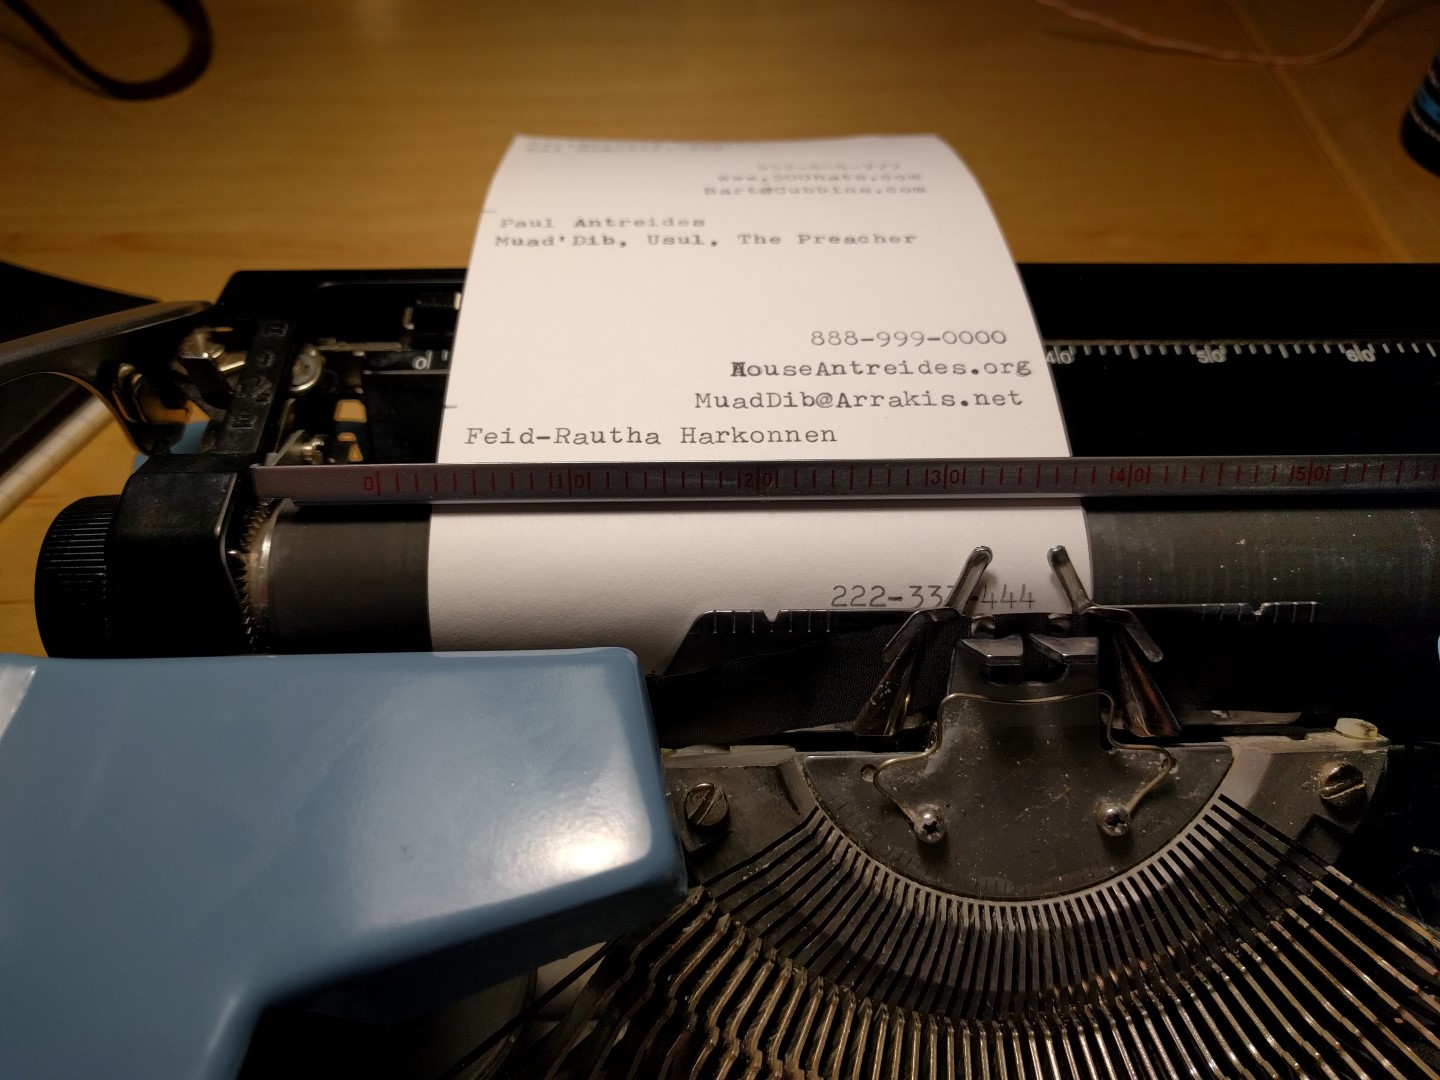
Type out the cards. There are many ways this can be done. Left aligned text is easy. Right aligned text can be done by moving to the end of the line, then counting backspaces to get just enough space for what is typed.
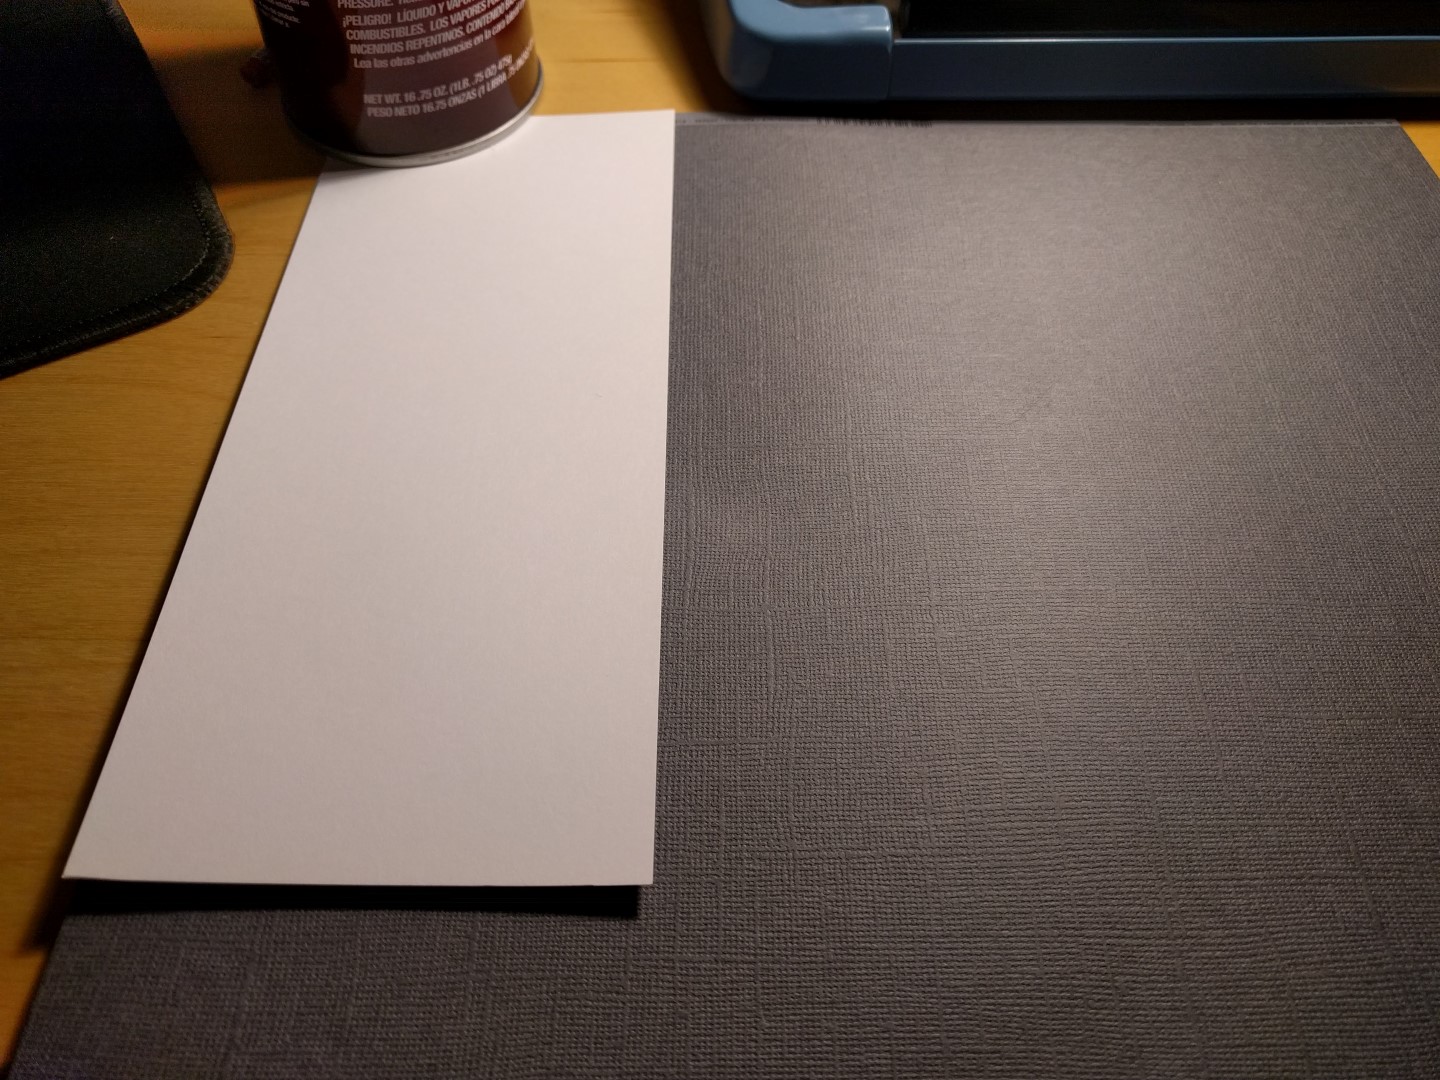
Get a piece of nice looking paper and use spray adhesive to bond the strip of cards to it. All kinds of neat looks are possible with multiple layers.
Finally, cut them out on the marks.
Here are the ones I made for myself.
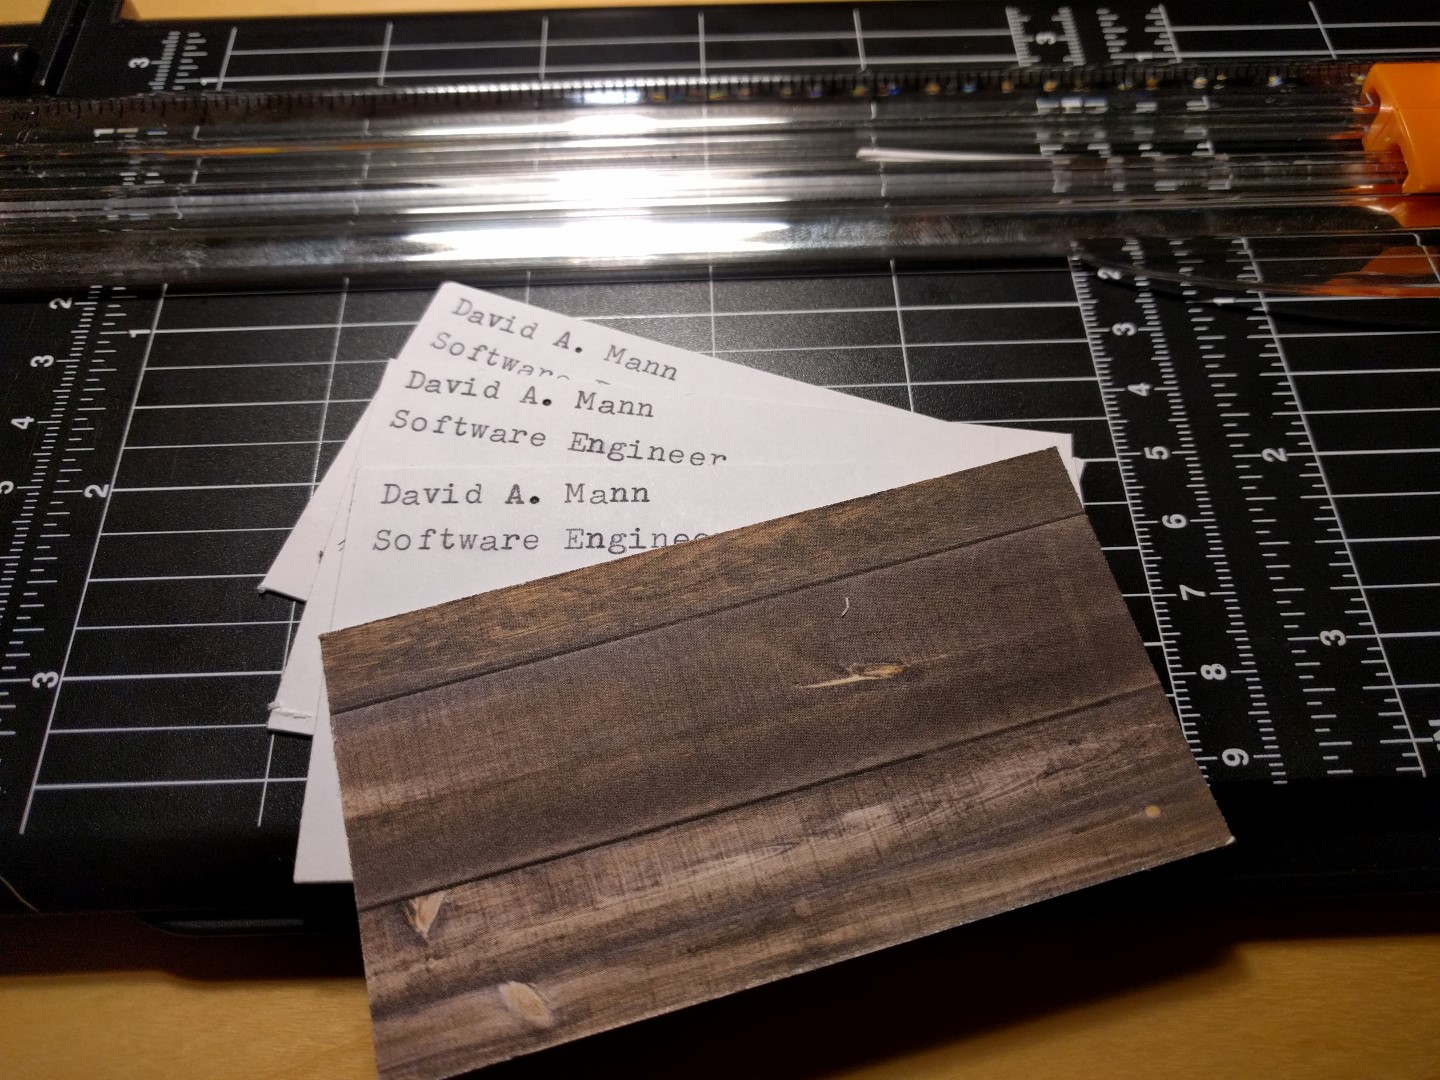
They look superb and are a great conversation starter.
← Back